Installing ADT for Android plugins for Eclpise:-
If you want to work with Android and want to make an App with Android framework then you need an IDE like Eclipse, but Eclipse is basically for Java and do not provide support for Android framework Classes, So if you want to work with Eclipse IDE then you have to configure the Eclipse IDE by installing new software in it called Android ADT.
The Android ADT is a Complete package of Android Framework Classes .
There are two ways to configure Eclipse for Android development--
- Download the ADT from Here and then install it on Eclipse. How to install? we will discuss about it later on this tutorial.
- The second way is to copy the below code and install the ADT.
http://dl-ssl.google.com/android/eclipse/
But The second method work only when your computer connected to the internet.
So now the topic is How to install the ADT by the above 2 methods.
Step 1- Open your Eclipse IDE, I imagine that you have knowledge that how to run the Eclipse IDE.
Step 2- Now Go to Help menu and click on "install new software".
A window will appear like below.

If you want to install the ADT by first method then click on Add button then another window will appear like this...

Now give a name like android-adt in Name Field of The Add Repository window and choose a the ADT achieve which you have downloaded in 1 method, by cliking on Achieve button and then click on ok button.
Now the window look like as..

Now click on Developers Tools and the click on next, Now the window look like as

Now click on next, Now the window look like as..
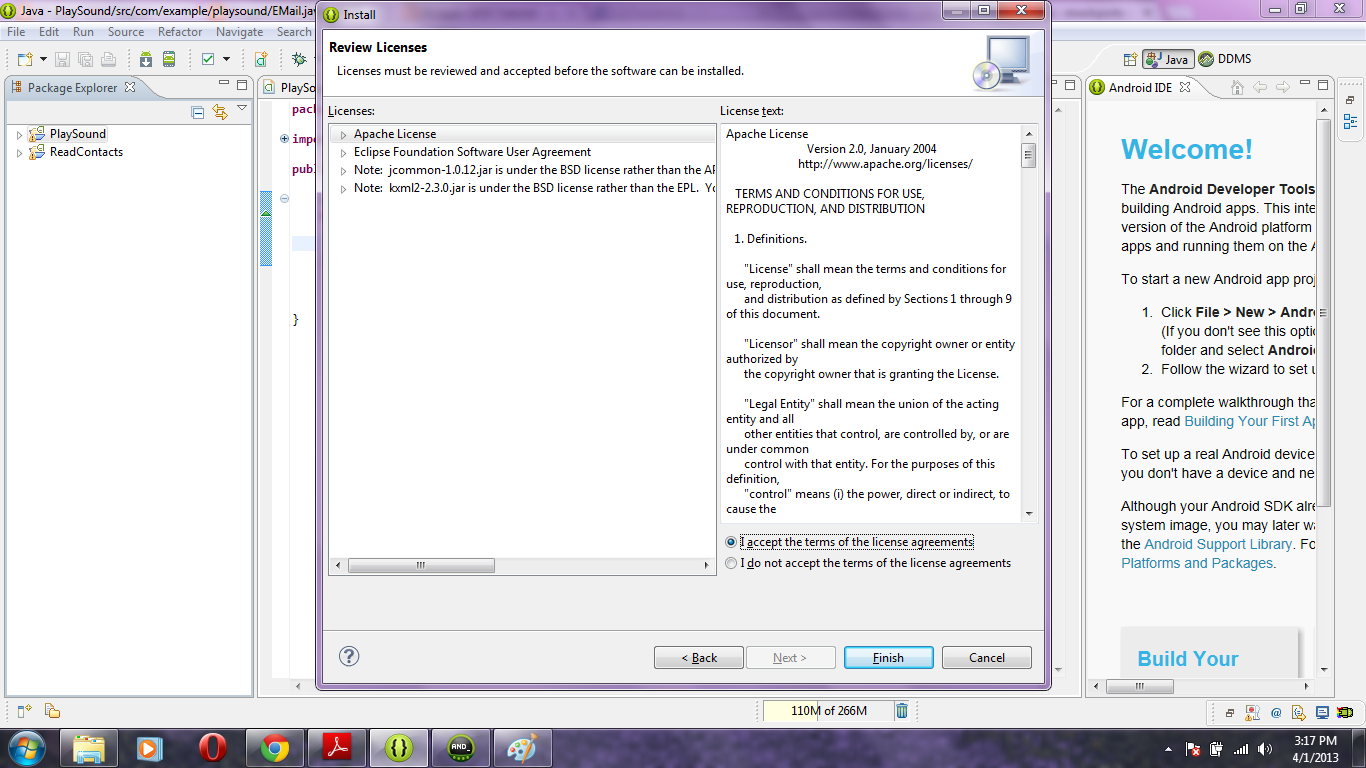
Now accept the term and licence agreement and click on finish.
The ADT is being installing and it needs some time for installing.
If you want to install the ADT with second method then click on the intall new software inside the Help menu and the a window will open and copy http://dl-ssl.google.com/android/eclipse/ this code and paste it to Work With field and the window will show you the Name of the available toos like this...

Now repeat the all step same as above and intall the ADT, but you have to connect to the internet for installing the ADT by this method.

{ 0 comments... read them below or add one }
Post a Comment